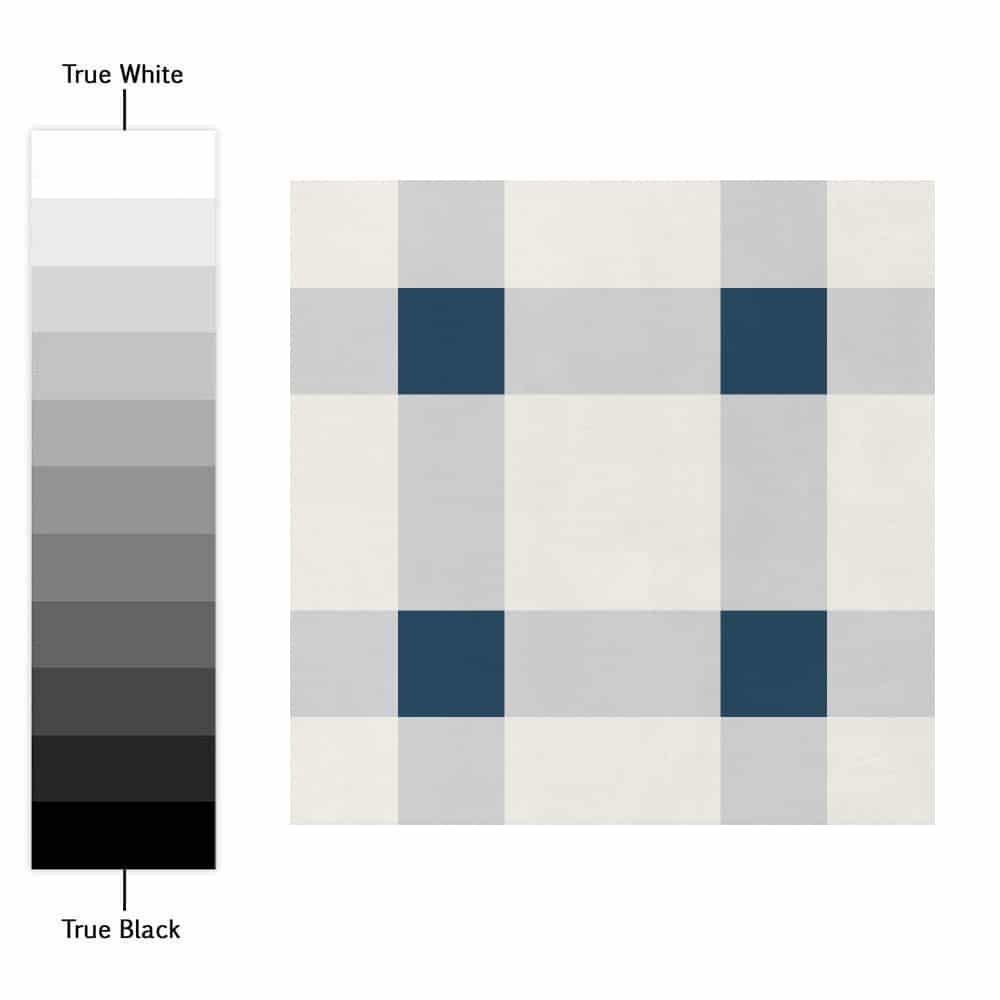
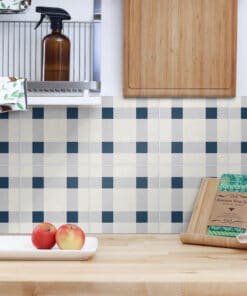
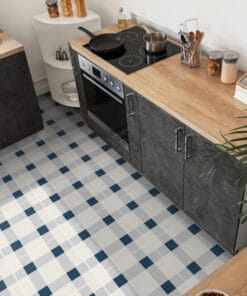
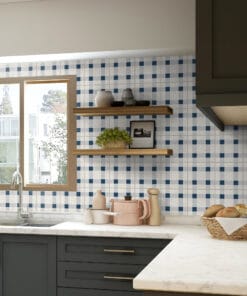
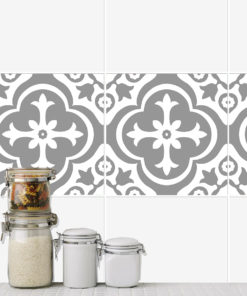
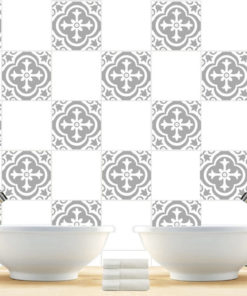
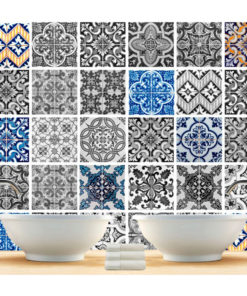
Tartan Pattern Tile Stickers
Welcome to Moonwallstickers.com, the tile shop with the most amazing tile patterns.
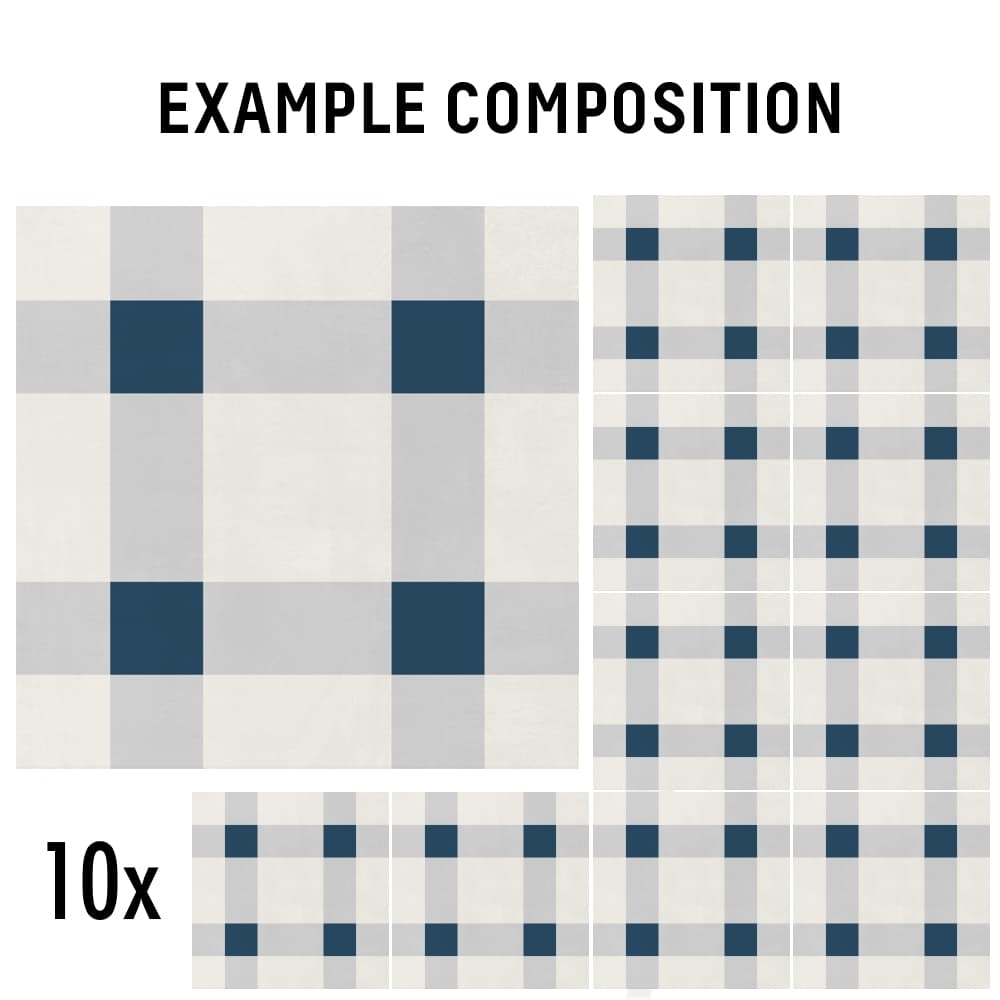
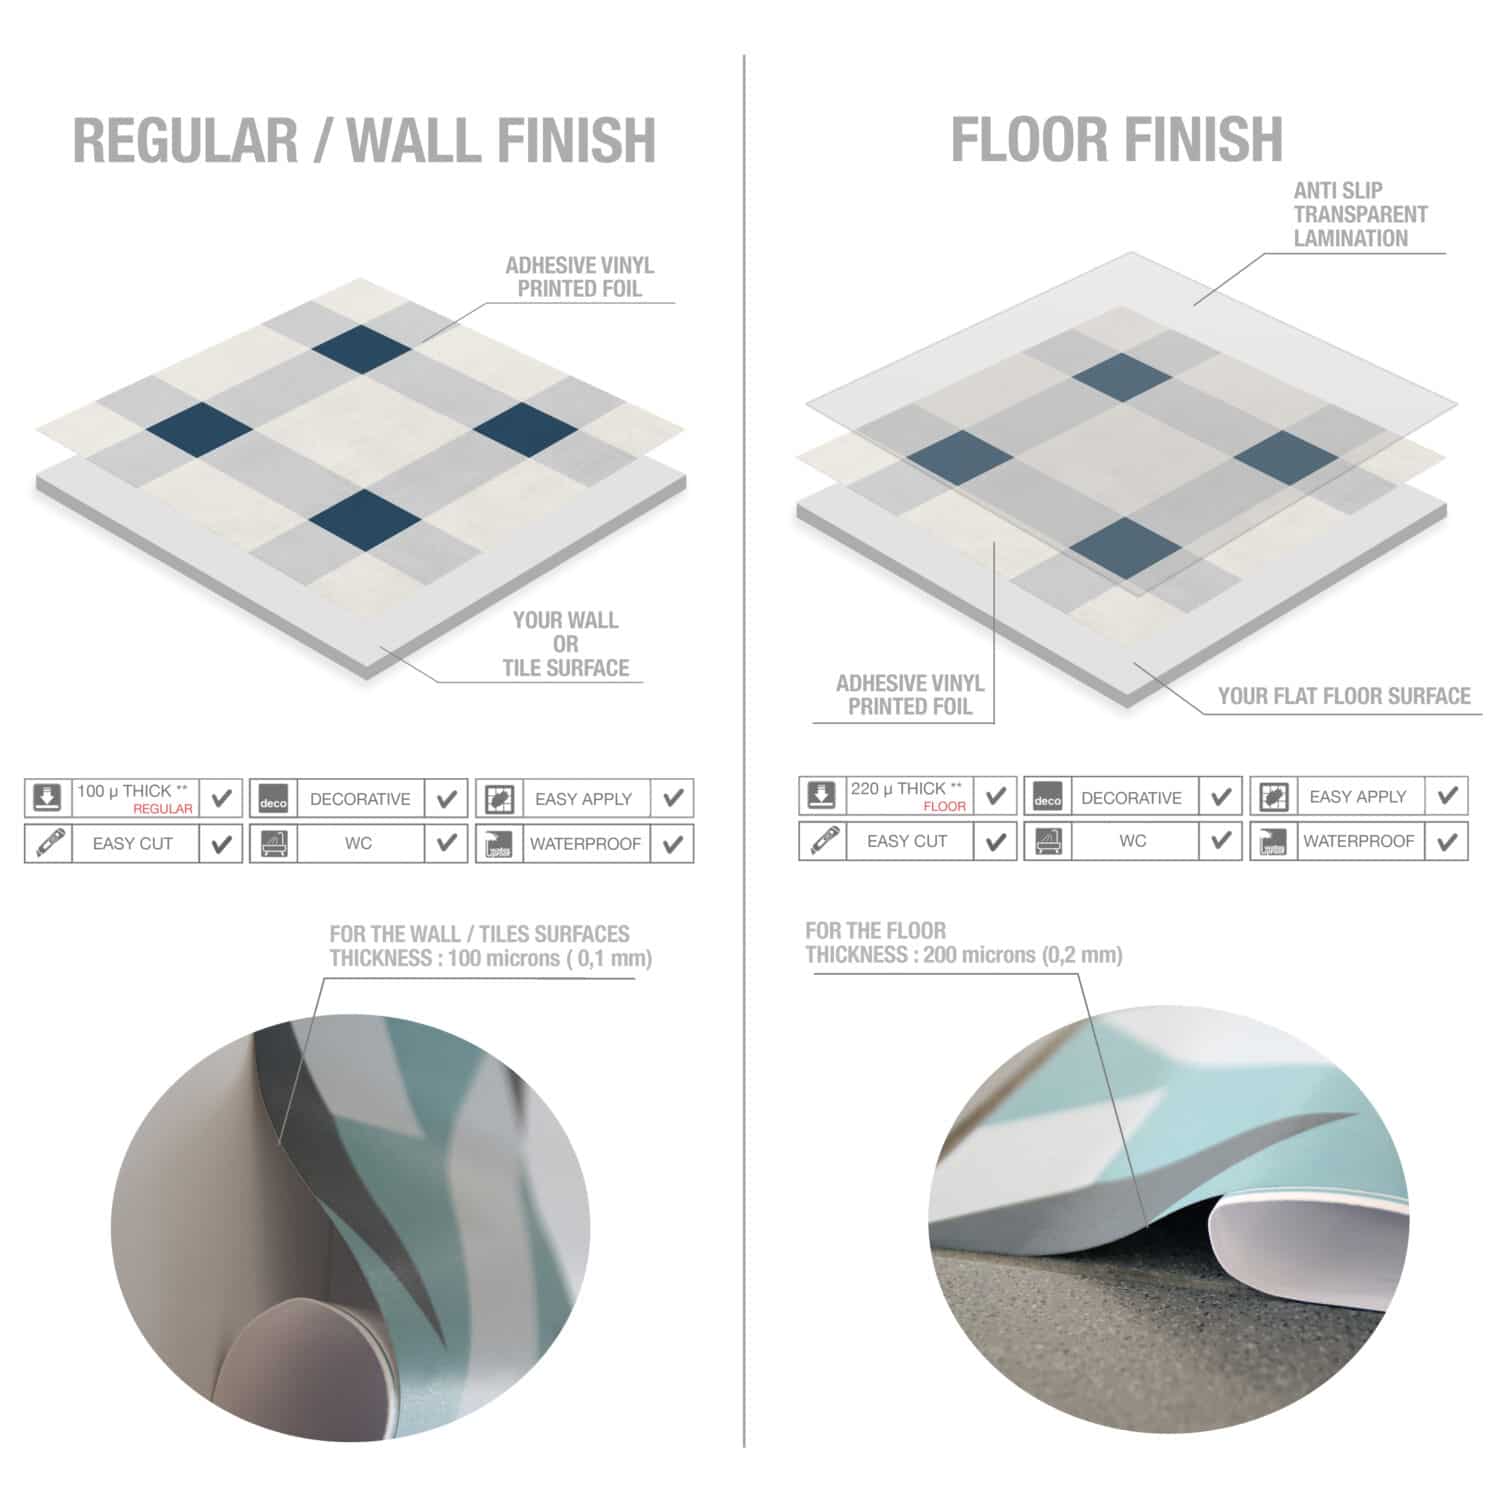
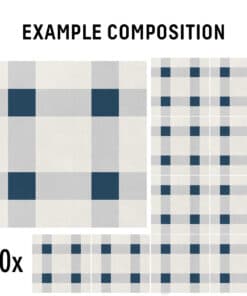
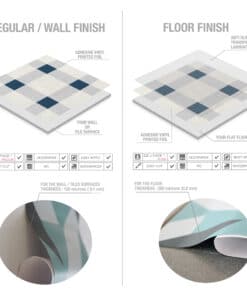
This set consists of 10 separate pieces. In this product, you choose the type of finish you need for your tile stickers: wall tile decals (Not for floor option) or floor tile stickers (Floor finish option), both will attach easily.
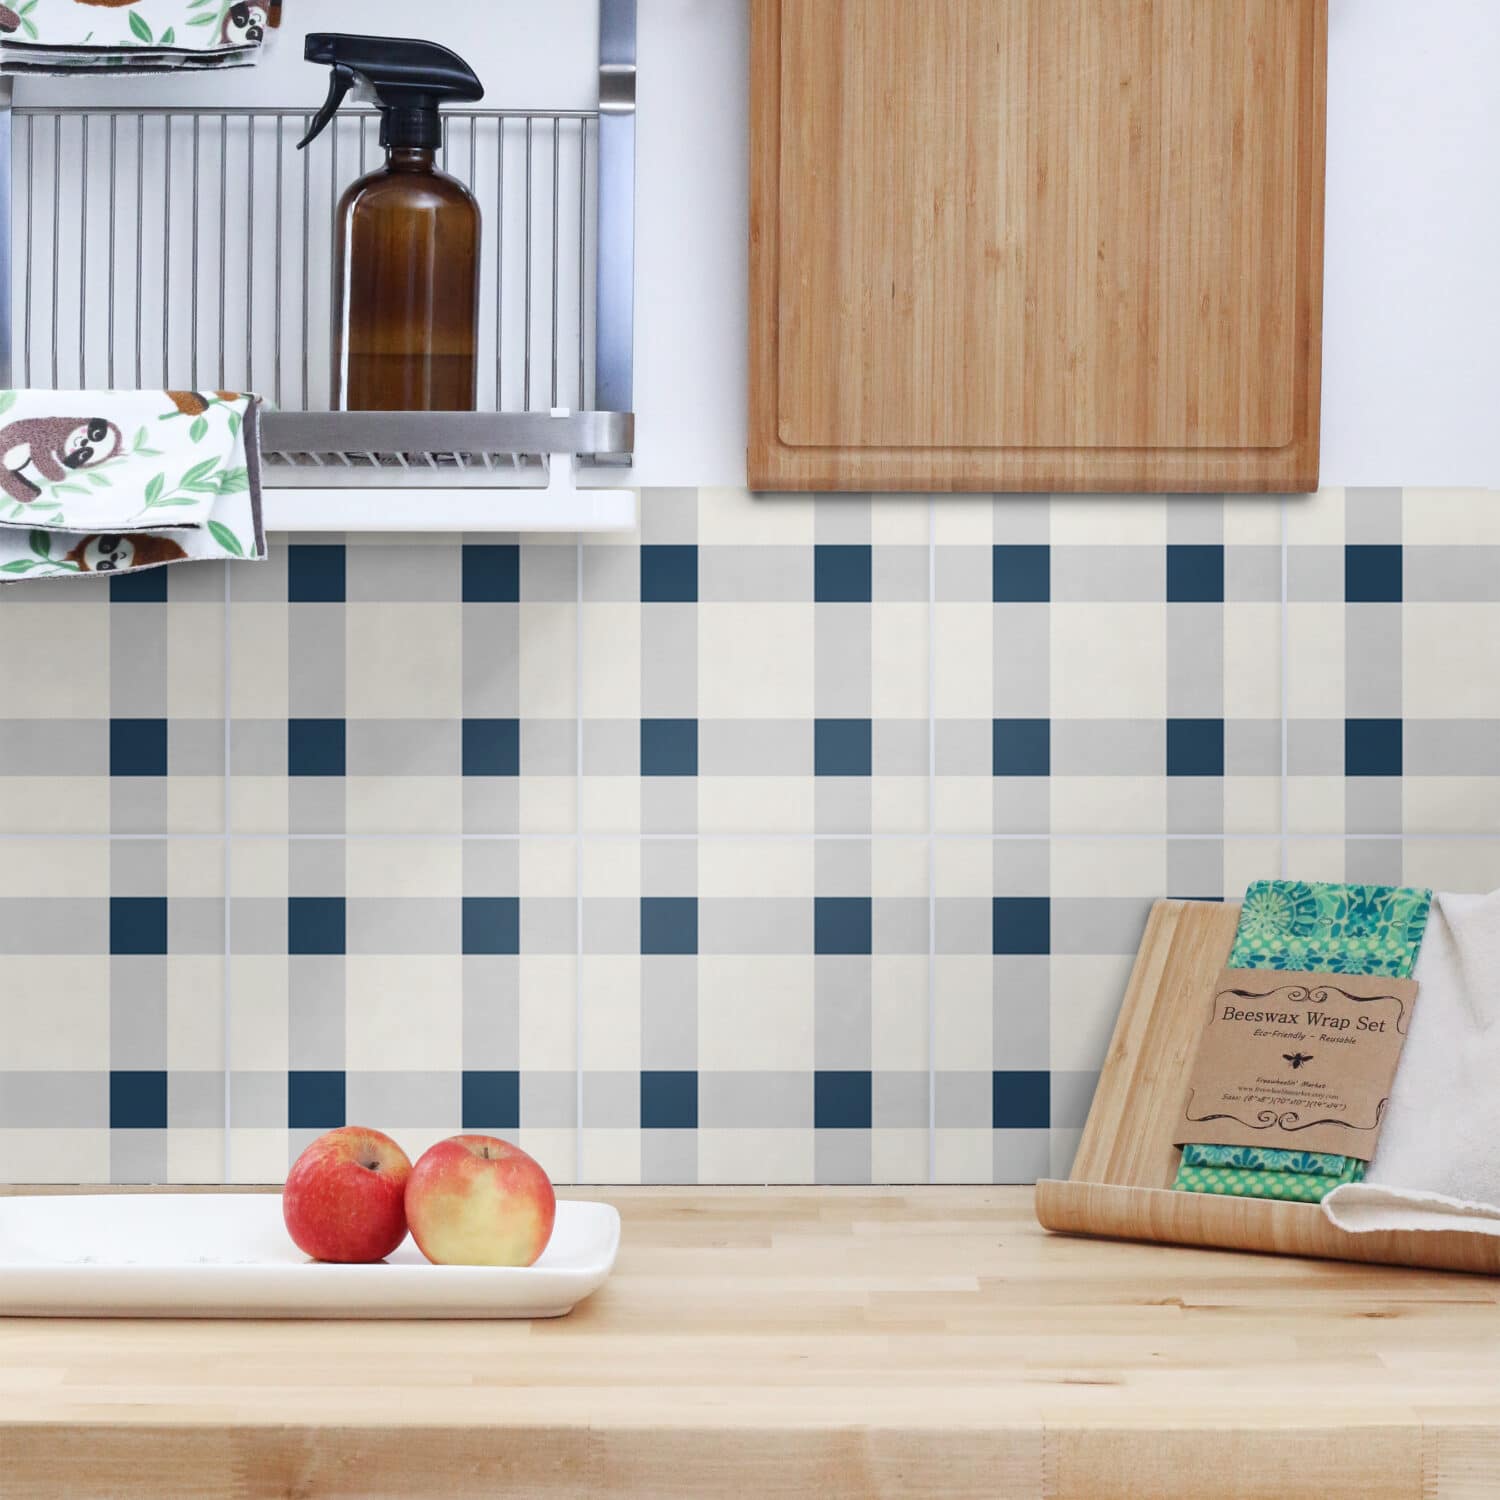
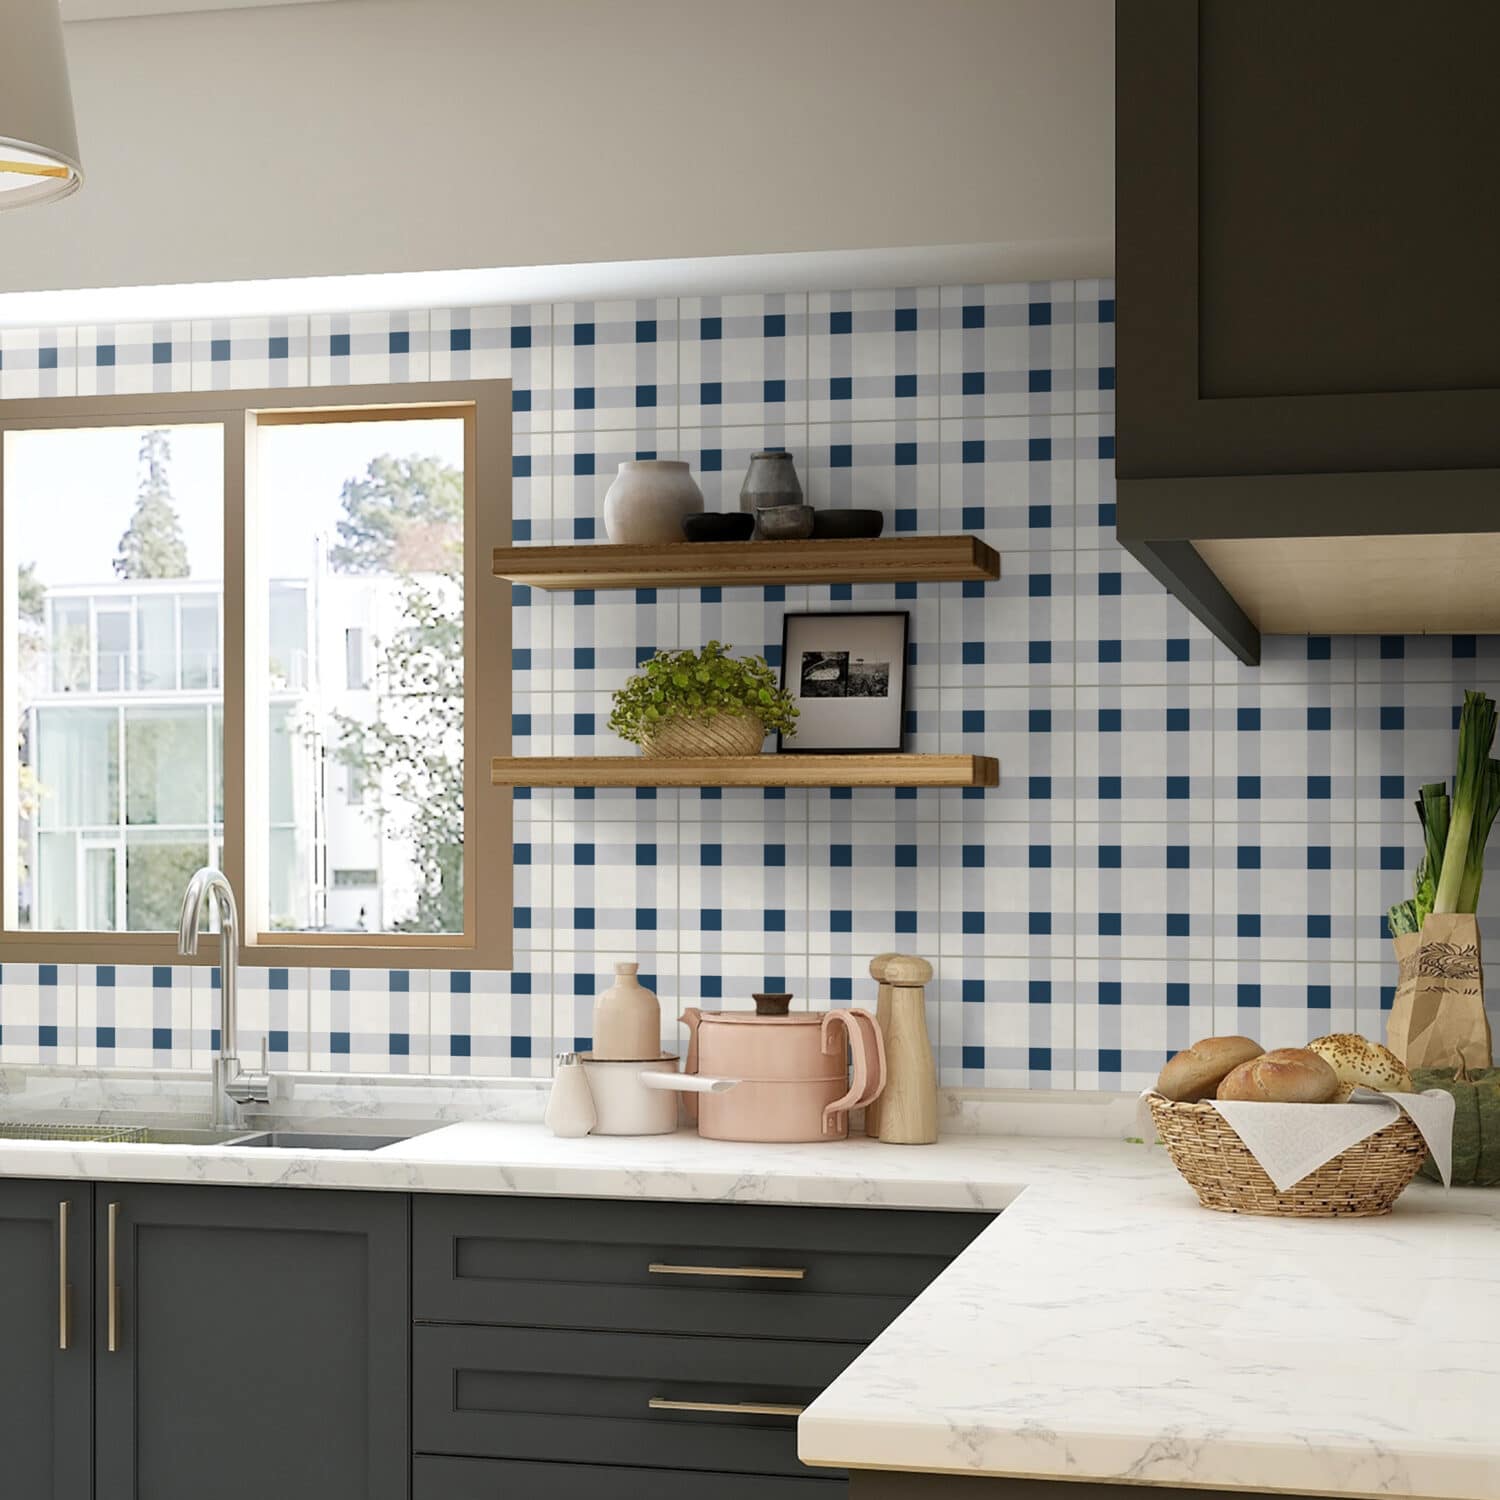
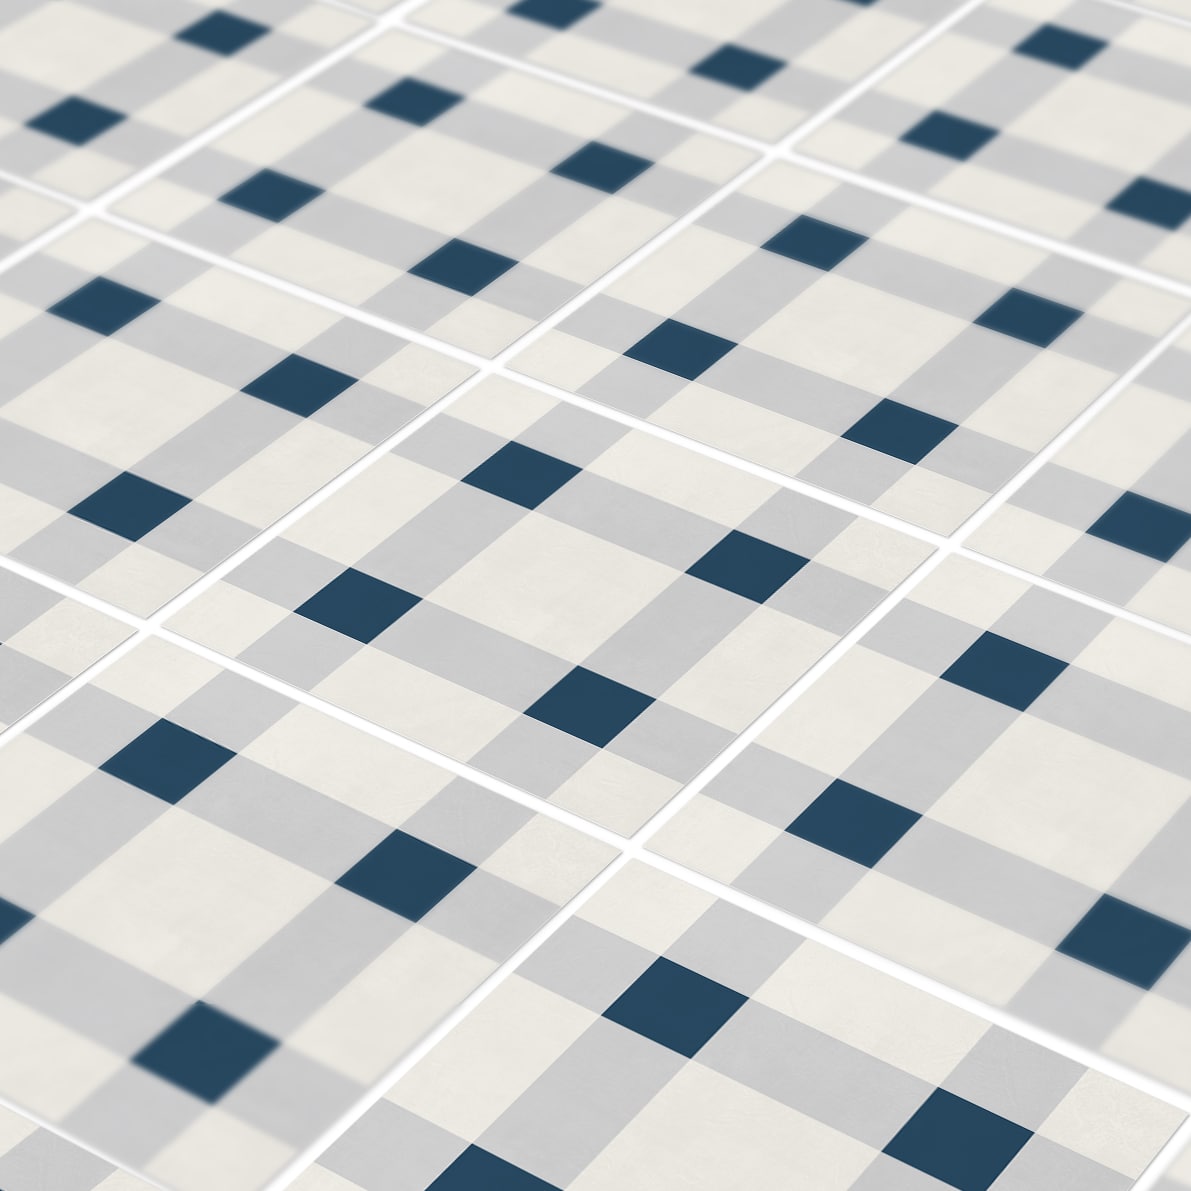
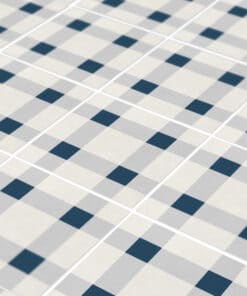
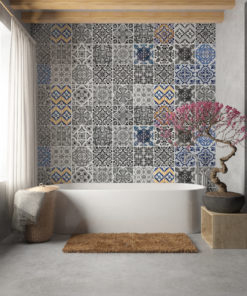
The tile stickers provide a modern look with classic inspirations for the interior walls and floor of any space. Its cozy and comfortable appearance makes it compatible with all styles of decoration, from the modern to the more traditional. Our tile stickers can be applied very easily, thanks to their peel-and-stick system.
In this listing you will find the possibility to choose from:
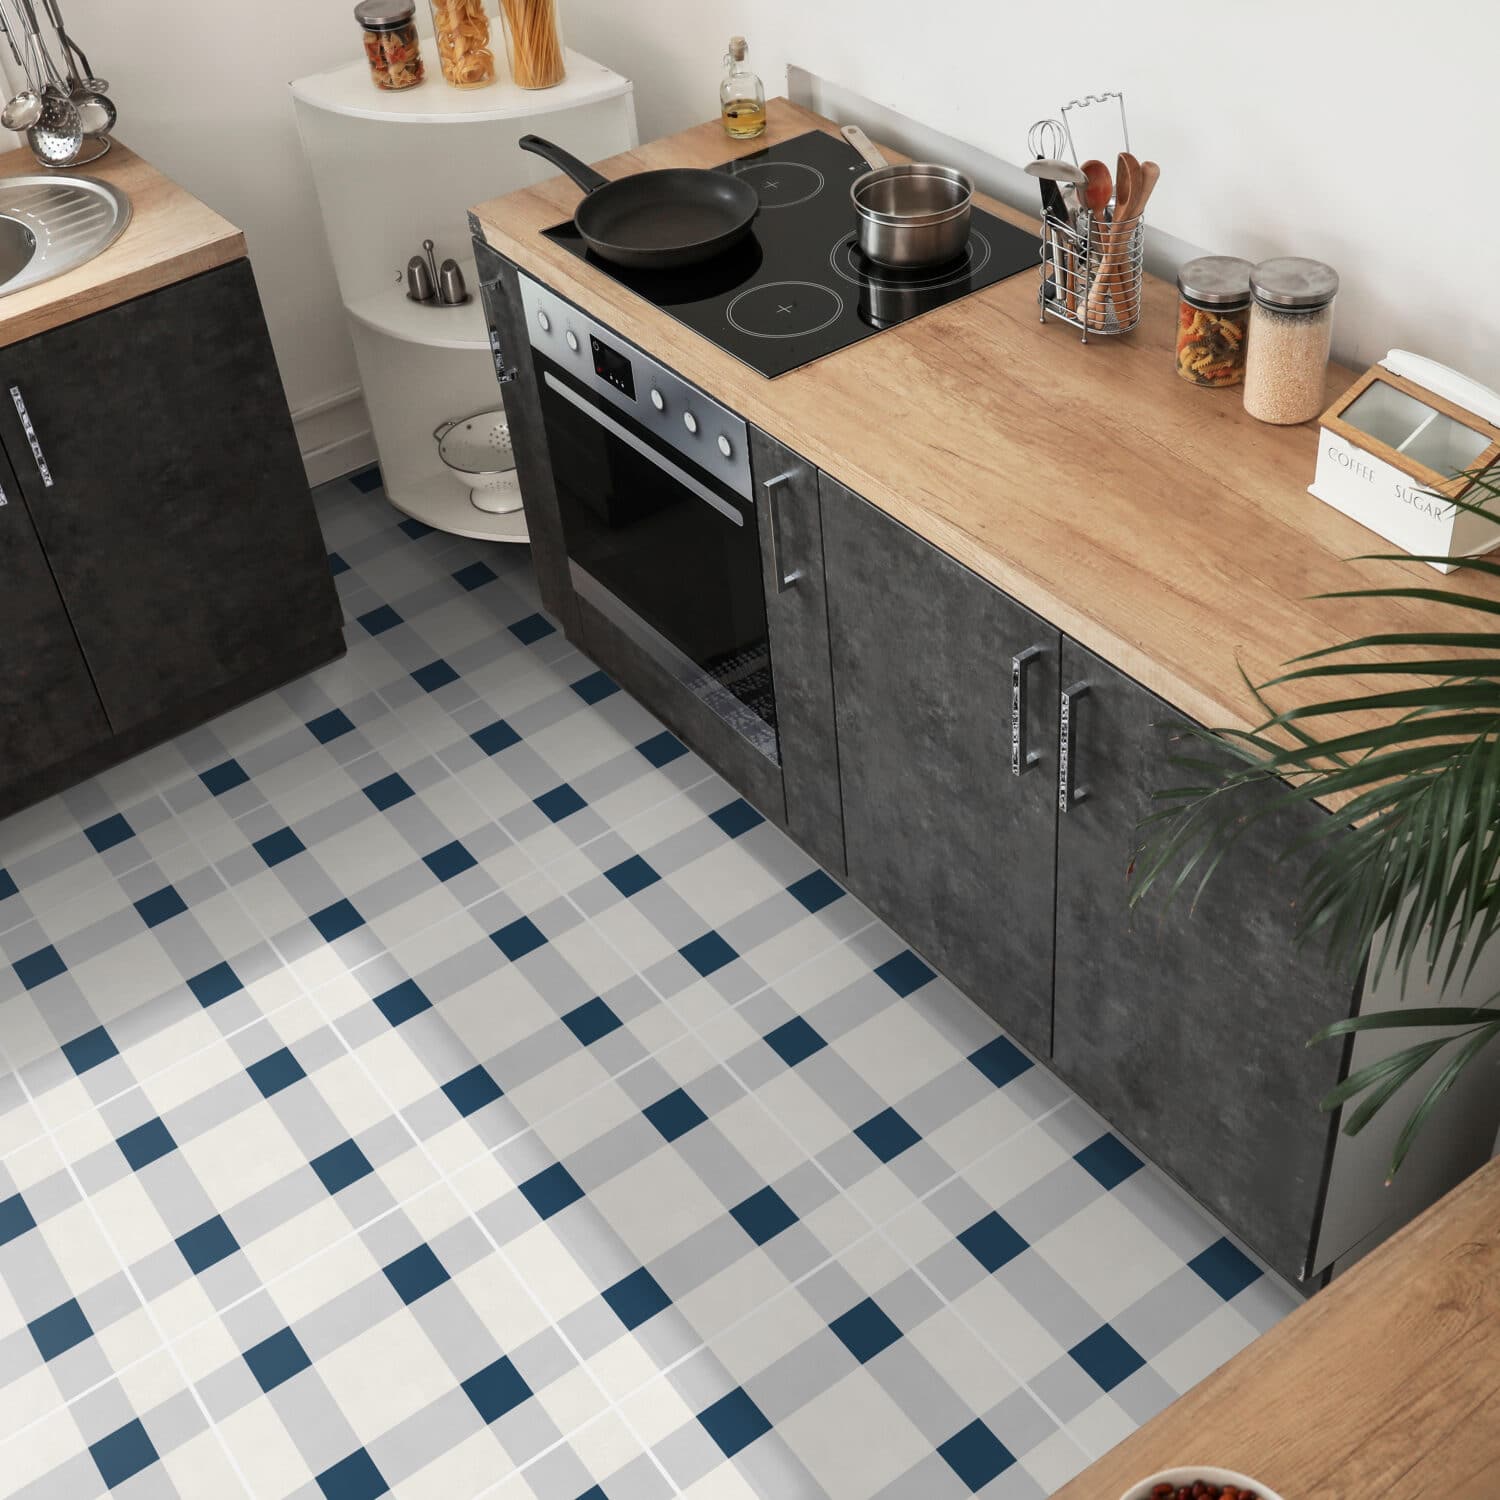
Floor Finish option for floor tiles: in this type of finish, the sticker is covered with a non-slip protective layer that prevents scratches and damage to the sticker
Not for floor option for wall tiles: ideal for covering ceramic wall tiles and other types of non-porous surfaces
Our Tile Stickers are:


Requirements:
- Make sure the surface is totally smooth / not textured;
- Clean the surface you wish to cover with a degreaser (make sure the surface is dry before applying the tile stickers);
- Certainly, if for some reason the tile stickers are over the grout, cut that excess part;
- For a better and more durable finish, use a hairdryer and apply heat to the already applied tile stickers and with a smooth cloth to make pressure. Make sure you do this process also on the edges.
- Do not apply tile stickers in latex or silicone-based paints;
- Do not clean the tile stickers with abrasive materials;
- Do not join the ends of the tile stickers, as they may contract and present a spacing;
- Do not apply tile stickers to walls with latex or silicone-based paints; freshly painted walls (allow to dry for about 3 weeks);
- Finally, do not start or finish the application on top of the joint /tile grout.
How to apply a Tile Sticker
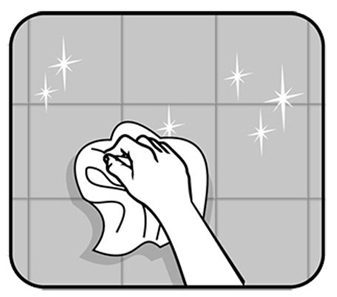
1 – Cleaning
Clean the surface, if possible use a degreaser. Make sure that surface is free of dust, dirt, and moisture. Let it dry and you can start the application process of your tile stickers.
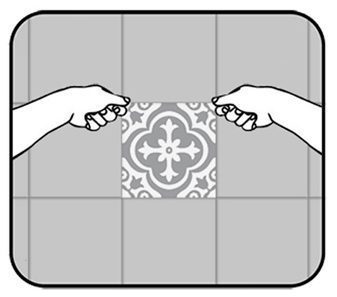
2 – Application 1 of 2
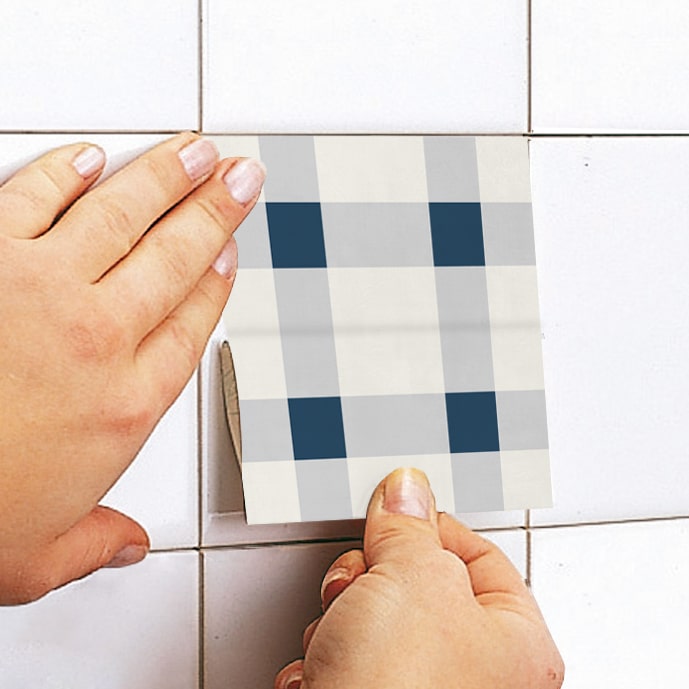
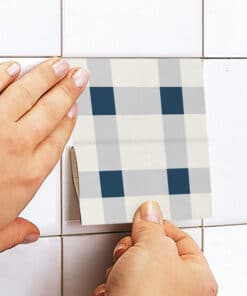
Peel 1/2 inc | 1 cm and crease back paper. Align the tile sticker with the top of the tile. Check the alignments and with a finger stick it to the tile.
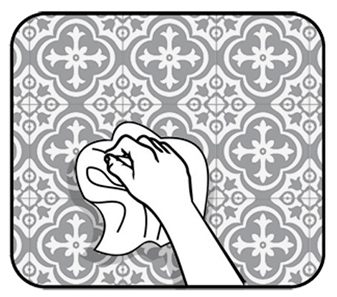
3 – Application 2 of 2
With a soft cloth apply the tile sticker. If you find any bubbles or want to realign you can always lift them and put them back. Avoid non-flat areas like rounded tile edges or tile grout.
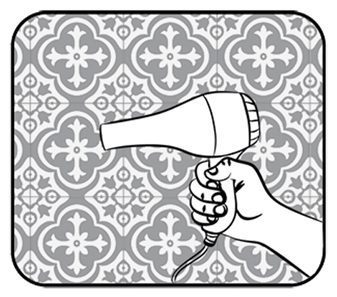
4 – Finishing 1 of 2
The best way to finish is by using a hairdryer. Heat the tile decal and with a soft cloth press firmly against the tile. This process will activate vinyl glue and will give you the best results.

5 – Finishing 2 of 2
In the finishing process (heat the tile sticker and press soft cloth) focus on tile sticker edges.
If at any moment (1 day or 1 year) after you see an edge peeling off use this process.
Materials:
– They are laminated for extra durability and are fully waterproof (Do not apply on the shower floor).
– Can sustain temperatures up to 70º C / 158º F;
– They can be removed without damaging the existing tiles.
– Can be applied on any non-porous flat surface such as tiles, glass, metal, or non-rough walls.
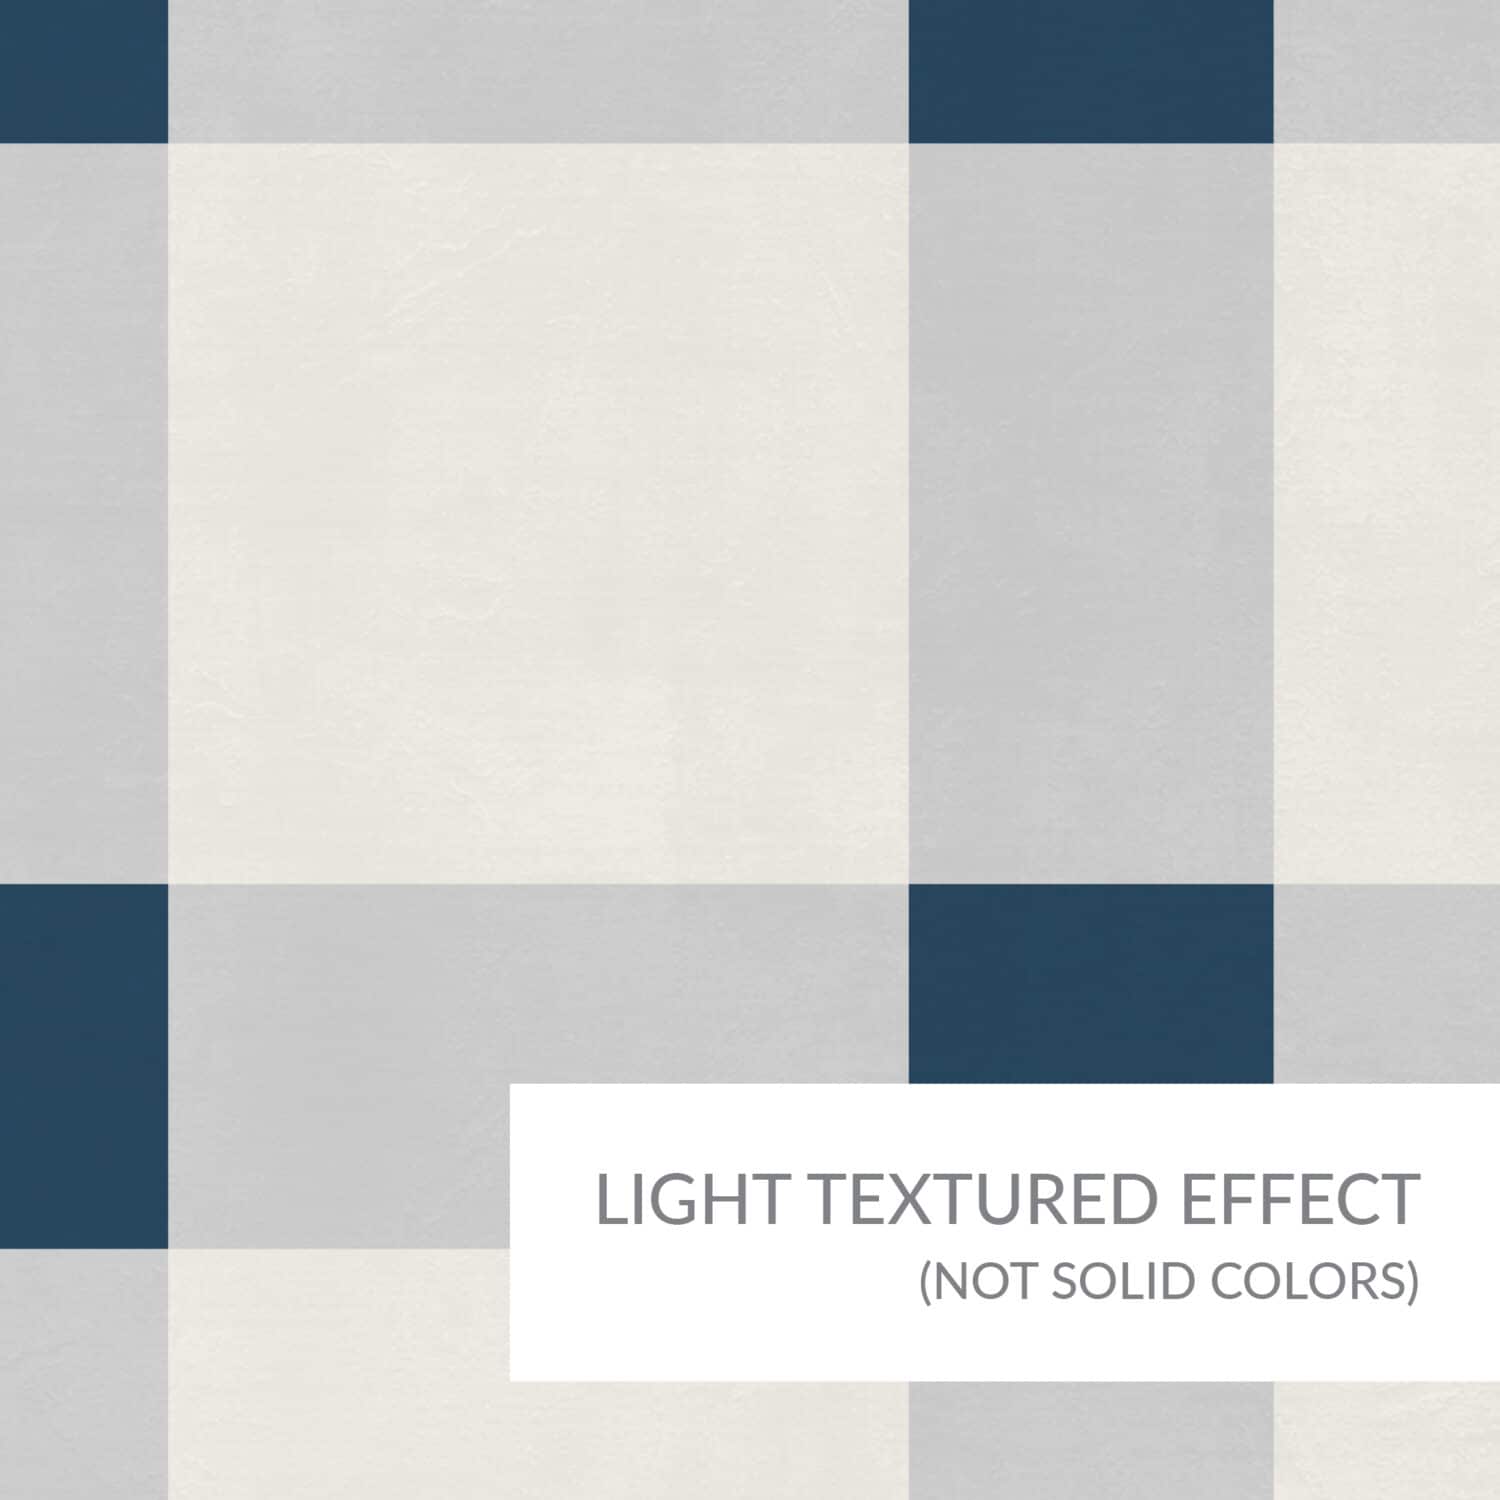
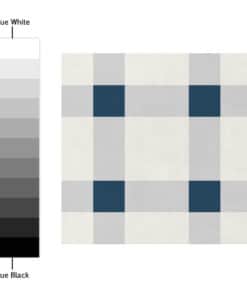
– Printed on white background;
– The material can contract on average 1 to 2mm / 0.039 to 0.078 depending on the conditions to which it is exposed;
– See our Materials page for more information about our vinyl.
Notes:
– Product colors may vary slightly due to your monitor’s settings.
– The production of our tile stickers at different times may vary the shade of the printed colors. In order to ensure that your tiles have the same colors and tones, we recommend that you purchase all the packs you need for your project in the same order.
– We can customize the tiles stickers with any size and design you want, contact us!
Video | How to apply
For more amazing Tile Stickers

 Español
 Français



Reviews
There are no reviews yet.